Decorate your house with this this spooky Halloween luminary. It's fairly easy to make and requires a few supplies.

1) Black cardstock,
2) Purple tissue paper,
3) Pencil and ruler,
4) Scissors and x-acto knife,
5) Craft glue,
6) Small glass,
7) Candle and lighter.
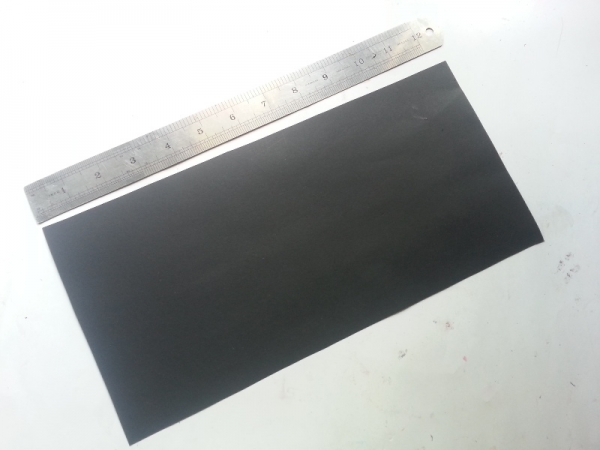
Step-1: Prepare the black cardstock paper. Measure the height and width. My shade was 8 inches (height) X 4 inches (width) so I had to cut out 8 X 16.5 inches of black cardstock paper. After folding the 16 inches part 4 times the width will be 4 inches and extra 0.5 inch for attaching the sides.
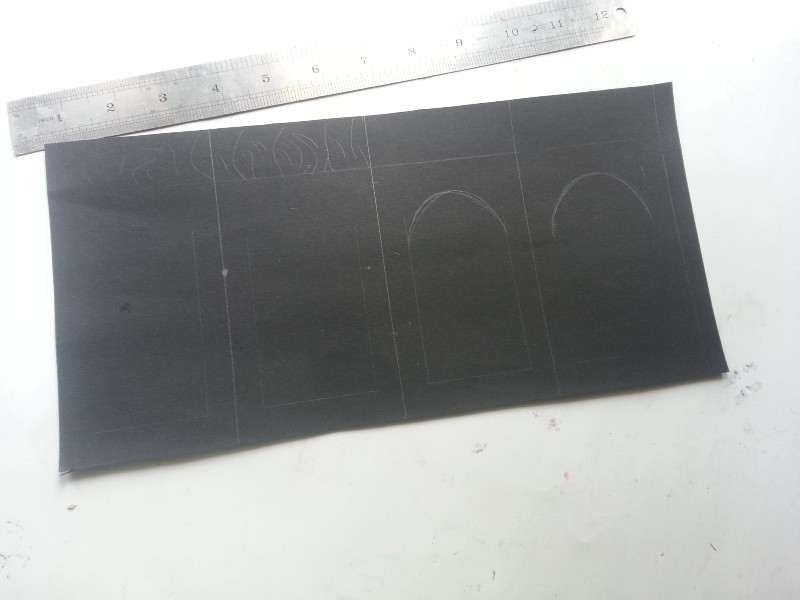
Step-2: Mark the folding lines of the cardstock and design on each square section as you want. I kept 2 inches along the top side intact and draw arch shaped patterns inside each square.
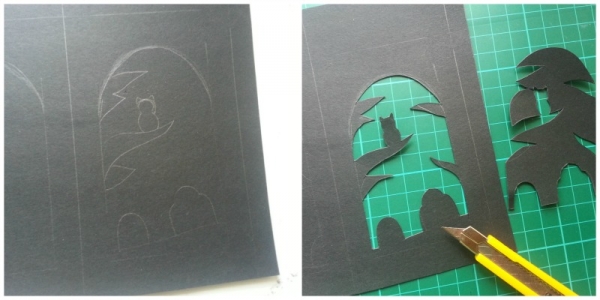
Step-3: Draw simple and easy to trace and cut patterns inside the arch shaped patterns. Use x-acto knife to cut out the pattern. Be careful and try to cut the patterns neatly.
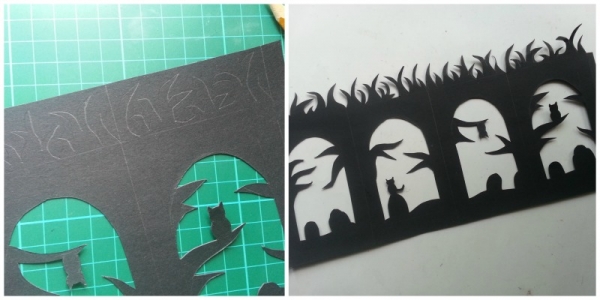
Step-4: Now draw spooky tree pattern along the top 2 inches of intact part. Use scissors or x-acto to cut the pattern neatly.
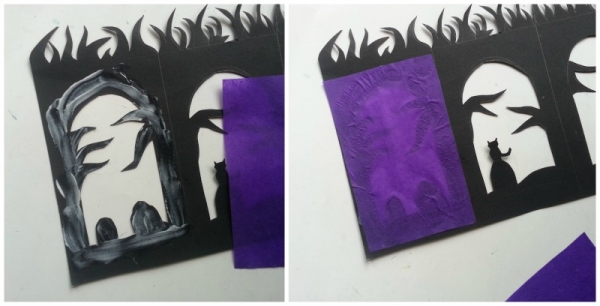
Step-5: Cut out 4 pieces of purple tissue paper according to the each folded part of the cardstock. Flip the patterned cardstock and simply glue the purple tissue to cover the patterns within each square. Allow the glue to dry.
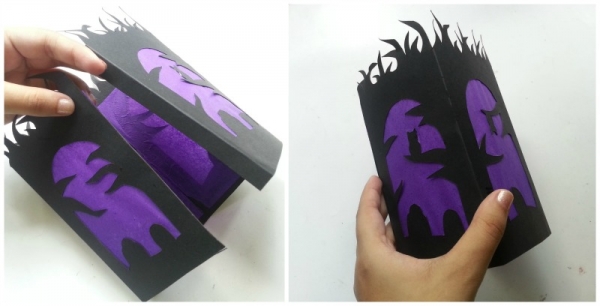
Step-6: After gluing all the purple tissue papers simply fold the cardstock and glue the 0.5 inch with the side next to it to complete the luminary.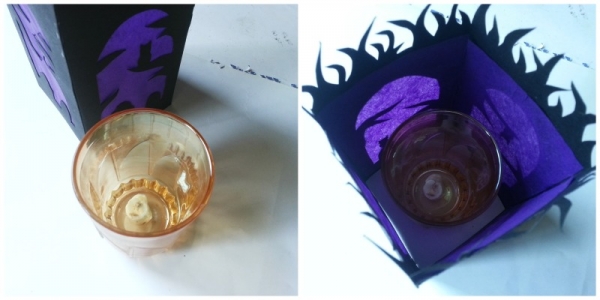
Step-7: Place a candle in a glass and then place the paper luminary over the glass. The candle’s height should be less than the height of the glass to keep the luminary safe. Light up the candle and enjoy the spooky luminary!

What you need
To make this luminary you will need:1) Black cardstock,
2) Purple tissue paper,
3) Pencil and ruler,
4) Scissors and x-acto knife,
5) Craft glue,
6) Small glass,
7) Candle and lighter.
Instructions

Step-1: Prepare the black cardstock paper. Measure the height and width. My shade was 8 inches (height) X 4 inches (width) so I had to cut out 8 X 16.5 inches of black cardstock paper. After folding the 16 inches part 4 times the width will be 4 inches and extra 0.5 inch for attaching the sides.

Step-2: Mark the folding lines of the cardstock and design on each square section as you want. I kept 2 inches along the top side intact and draw arch shaped patterns inside each square.

Step-3: Draw simple and easy to trace and cut patterns inside the arch shaped patterns. Use x-acto knife to cut out the pattern. Be careful and try to cut the patterns neatly.

Step-4: Now draw spooky tree pattern along the top 2 inches of intact part. Use scissors or x-acto to cut the pattern neatly.

Step-5: Cut out 4 pieces of purple tissue paper according to the each folded part of the cardstock. Flip the patterned cardstock and simply glue the purple tissue to cover the patterns within each square. Allow the glue to dry.

Step-6: After gluing all the purple tissue papers simply fold the cardstock and glue the 0.5 inch with the side next to it to complete the luminary.

Step-7: Place a candle in a glass and then place the paper luminary over the glass. The candle’s height should be less than the height of the glass to keep the luminary safe. Light up the candle and enjoy the spooky luminary!

No comments:
Post a Comment