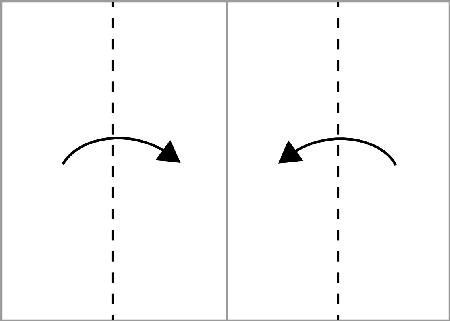
Start with a square sheet of paper with white-side facing up. Rotate the paper so it is "diamond" orientation. Fold paper in half. Unfold. Fold in the paper so the top-left and top-right edges of the paper meet the central crease. Turn over. Fold in the paper so the bottom-left and bottom-right edges of the paper meet the central crease. Turn over. Fold the model in half (bottom to top). Fold the top flap back down: make the crease so only the white part of the paper is showing when you look at the back side of the model (join blue dots). Turn the model over to check on the color of the paper before you make a firm crease. Fold up the bottom point of the model (join red dots). Turn over and you're done!
Step One: gather and tape some matchstick boxes
together to create the base shapes for the houses. Cut little triangle
pieces out of some light cereal box card for the roofs and tape on
For the chimney on the narrow tall house I taped together four BBQ
skewers to make a square shape, taped that to the side of the house and
trimmed to suit.
I
are helping out by making them a nice comfie fairy bed to sleep on.
To make a fairy bed of your own start by cutting the willow or twigs
into uniform lengths, they don’t have to be exact! You need one length
for the bed base and shorter lengths for the bed posts.
The shape of this geometric origami is called ‘Triangular Bipyramid’. I know, a bit tricky for kids, but the origami itself is the easiest to make and has many fun uses.
To remember this name is actually straight forward. Bipyramid means two pyramid shapes mirrored back to back, and this pyramid has triangular sides, so there you go.
The easiest way to start apop up bookis to take a piece of paper and cut 2 small equal slits. Then you fold in the piece that you just cut, giving you a 90 degree angle on the inside fold.
You can glue creatures, pictures, or figures on the pop out folds to make them stand up when you open your page.
Adorable Origami Doll House - using papers and colors
This is a great rainy afternoon project that will engage children in the making, decorating and playing. It's fast to make, fun to decorate and it will fold away flat so you won't have to find space for storage. Let's get started.
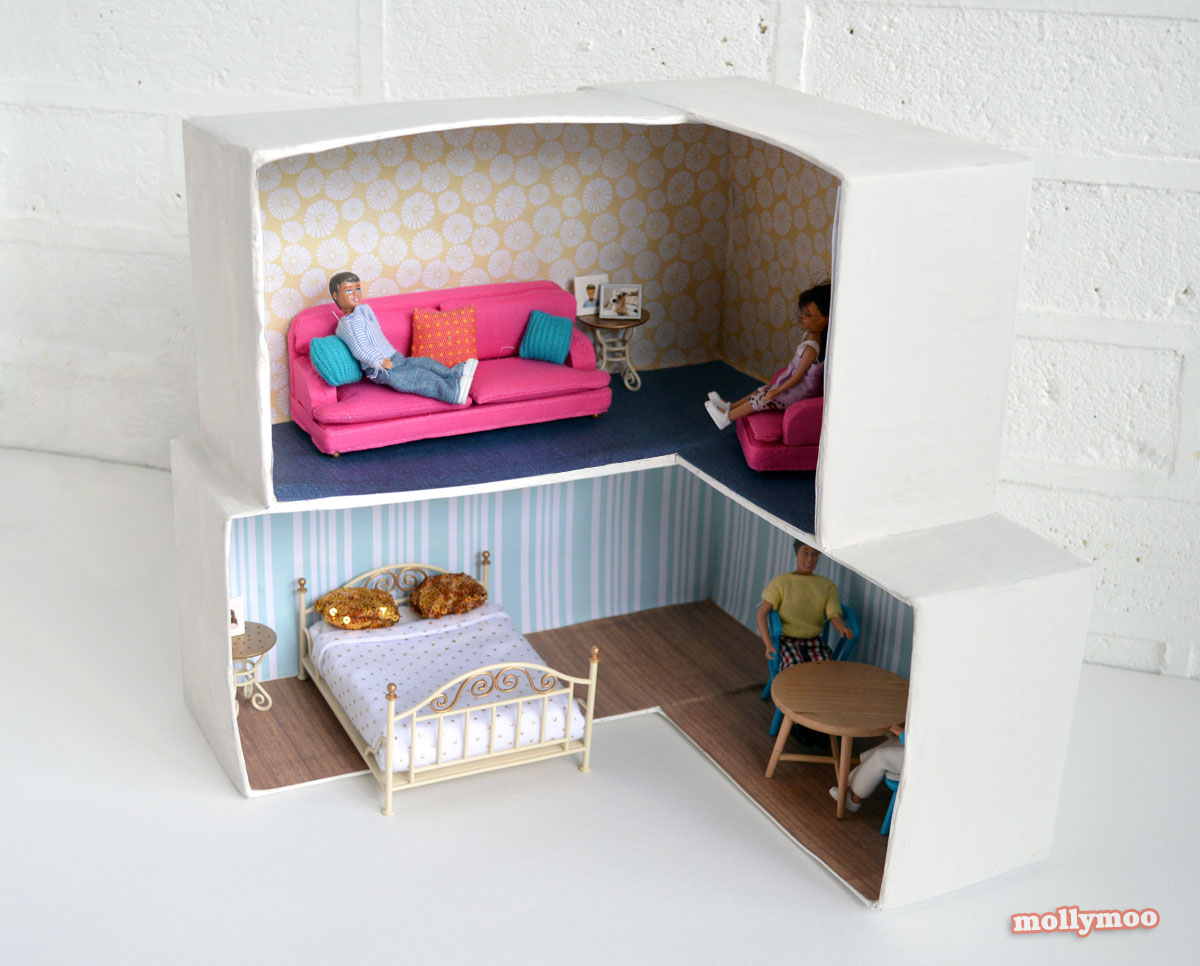
This is the first cardboard construction and papier mache project I’ve done in a while – I’ve returned to centre :) - - Here’s what you need to make:
– Shoeboxes
– Newspaper
– Cellotape
– Papier mache mix
– Paint (I used a tested pot of household emulsion)
– Scrapbooking paper or wallpaper scraps
– Craft glue
(and if you have extra rolls to spare, definitely check out Michelle’s stash of adorable toilet roll crafts. She has some super cute cats, ninjas, and woodland creatures!)