This is the first cardboard construction and papier mache project I’ve done in a while – I’ve returned to centre :)
-

-
Here’s what you need to make:
– Shoeboxes
– Newspaper
– Cellotape
– Papier mache mix
– Paint (I used a tested pot of household emulsion)
– Scrapbooking paper or wallpaper scraps
– Craft glue
-
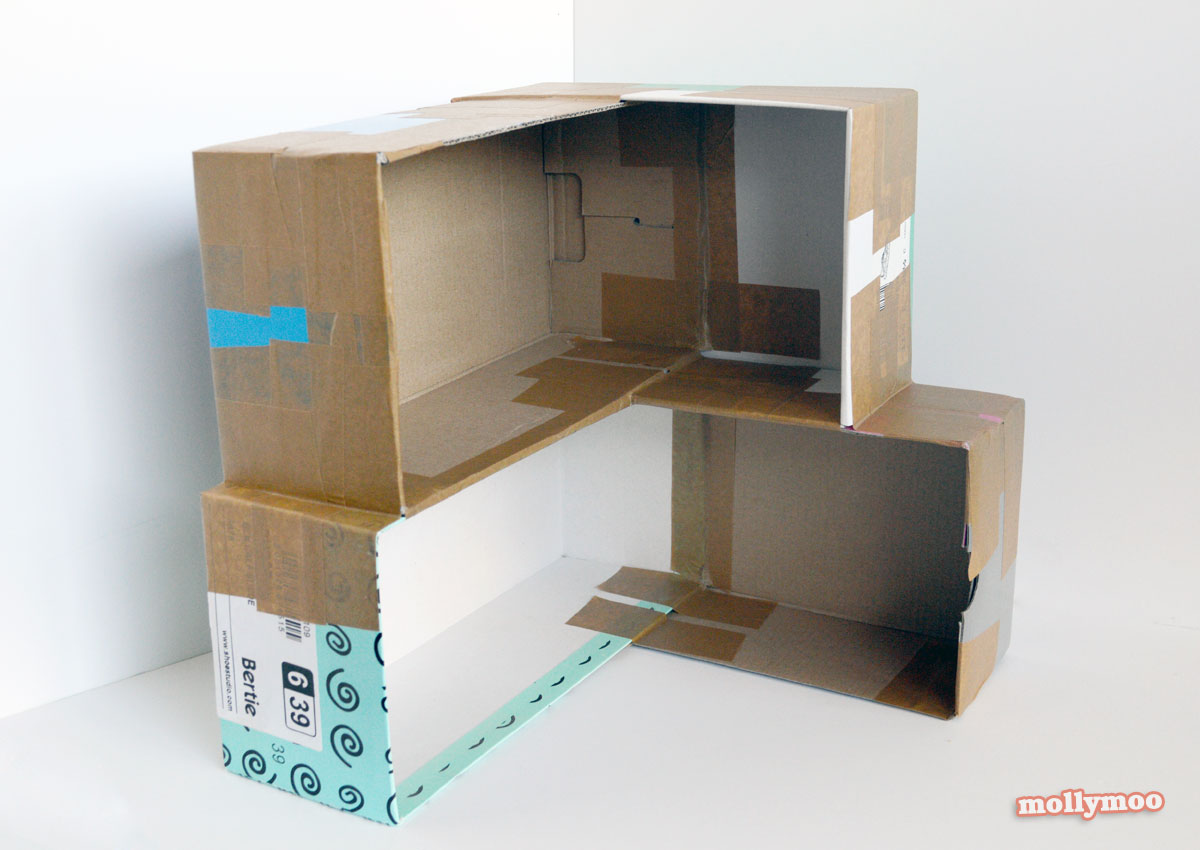
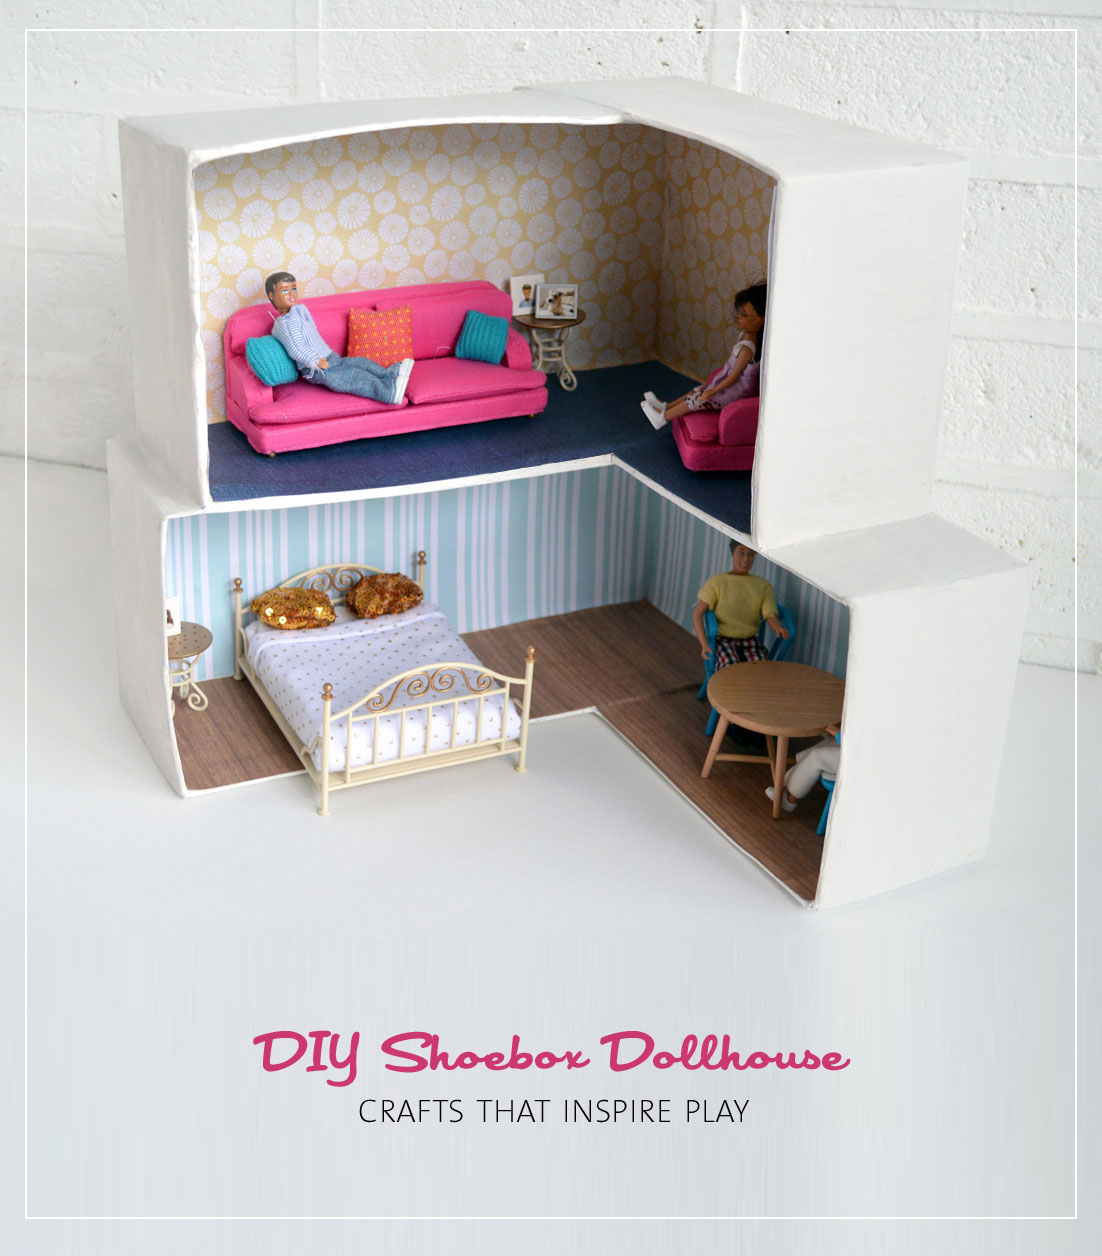
First slot the shoeboxes together and tape them securely together. The number of shoeboxes you have will determine the shape and configuration of your contemporary flatroof house – you might want to go three stories high!
-

-
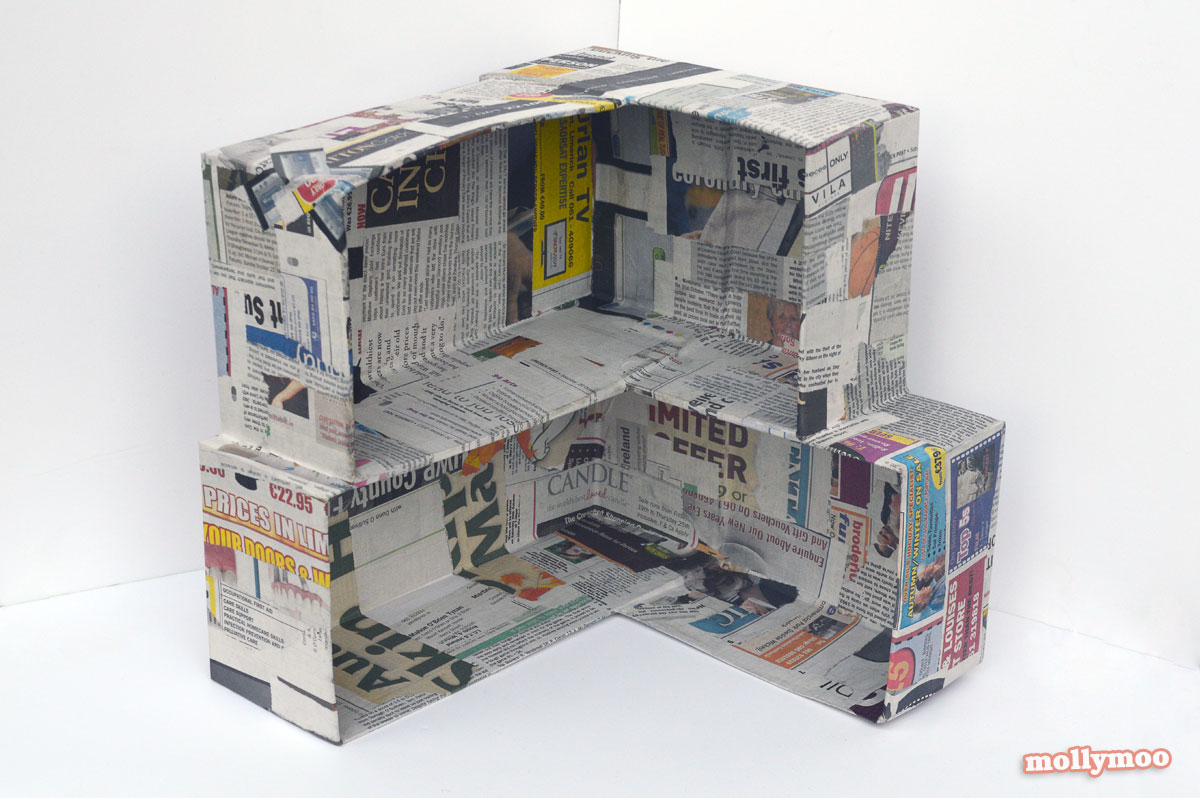
Add one layer of paper mache to bind the structure together, and leave it to dry.
Click here for my tutorial on how to papier mache
-

-
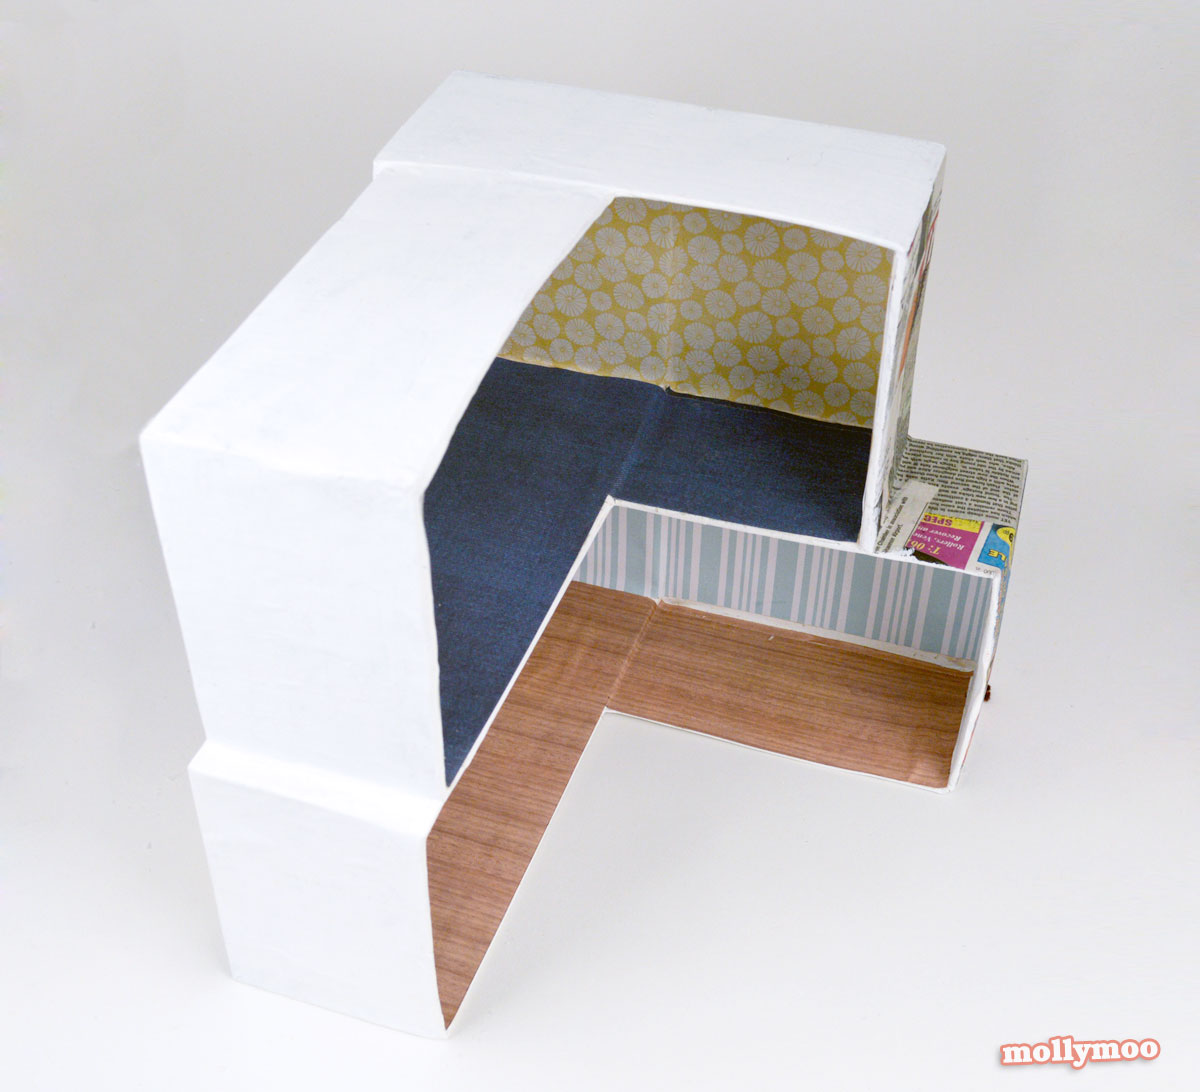
I like using household emulsion to paint papier mache structures as it covers in just one coat and dries to a lovely matt finish.
-

-
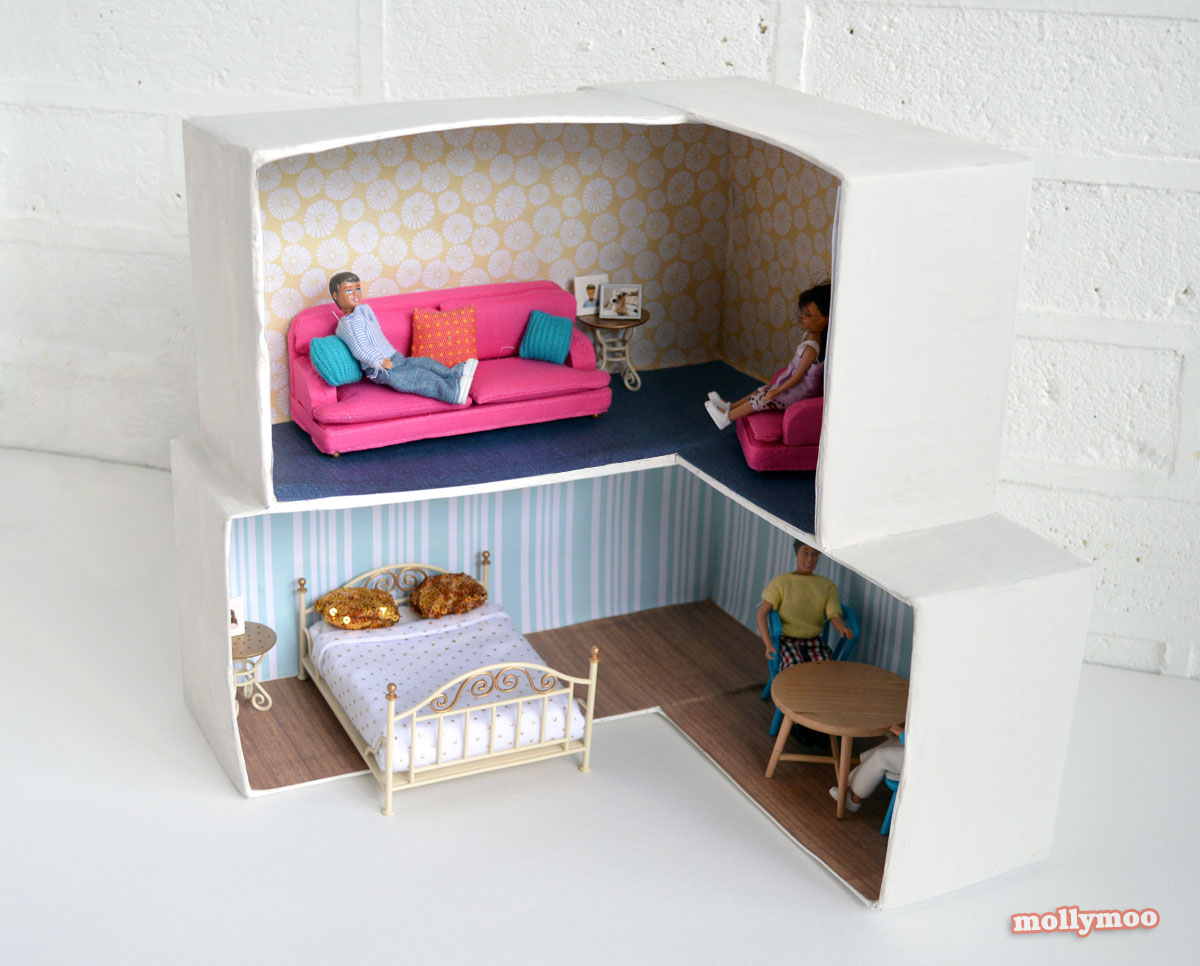
For the inside walls and floors I asked MissMolly to pick out what she wanted from paper scrapbooking books – after all it was her house and her toys had to feel at home there – and I glued the paper into position with standard craft glue.
-

-
The Shoebox House has become an welcomed annex for the grandparent dolls to live in beside the dollhouse Molly got for Christmas – everyone is happy!!
-
Happy Crafting
-
-
Here’s what you need to make:
– Shoeboxes
– Newspaper
– Cellotape
– Papier mache mix
– Paint (I used a tested pot of household emulsion)
– Scrapbooking paper or wallpaper scraps
– Craft glue
-
First slot the shoeboxes together and tape them securely together. The number of shoeboxes you have will determine the shape and configuration of your contemporary flatroof house – you might want to go three stories high!
-
-
Add one layer of paper mache to bind the structure together, and leave it to dry.
Click here for my tutorial on how to papier mache
-
-
I like using household emulsion to paint papier mache structures as it covers in just one coat and dries to a lovely matt finish.
-
-
For the inside walls and floors I asked MissMolly to pick out what she wanted from paper scrapbooking books – after all it was her house and her toys had to feel at home there – and I glued the paper into position with standard craft glue.
-
-
The Shoebox House has become an welcomed annex for the grandparent dolls to live in beside the dollhouse Molly got for Christmas – everyone is happy!!
-
Happy Crafting
No comments:
Post a Comment